
Friday, March 11, 2011
Yogurt Cheese Balls
Wednesday, March 9, 2011
Homemade Yogurt
I have wondered how to make yogurt for months now, and I guess I have been too lazy to research how to do it until recently! I just youtubed a few tutorial videos and mixed up a few methods. There a some that use the stove/oven and some that use solely the crockpot. I chose to mix in order to achieve the fastest method, because my attention span in the kitchen is limited! Also, the tutorials all seemed to result in a yogurt product that was runny, even almost a liquid. I don't like the idea of drinking my yogurt all the time, so I kept my ears perked for what is used as a thickener and doubled the amount used. Also, I doubled the amount of starter yogurt culture and halved the amount of milk. This resulted in half as much yogurt which was likeably thick enough for me to eat! Hooray! I was thrilled it worked on my first try, especially considering that I added vanilla extract to enhance the flavor a bit. It still did not taste like vanilla flavor, but it wasn't as noticeably tart as I think it could have been because of this. I will list the recipe ingredient amounts in the amounts I used to get a thicker, creamier yogurt.
4 cups milk (whole, 2%, skim, whatever)
1 tbsp. vanilla
6 Tbsp. Plain yogurt w/ live cultures and no sweeteners
6 Tbsp. powdered milk
-combine milk and vanilla and bring to a rolling boil on the stove
-let cool to body temperature (test it on your wrist)
-pour into a crockpot on WARM setting (ideally this should be 110 degrees)
-Add remaining ingredients and whisk well, let it remain covered for 6-9 hours
-scoop into containers and refrigerate
ENJOY! Flavor may be enhanced with added jams or apple butter, similar to Fruit on the Bottom yogurt at the store.
Perhaps next time I make it I will post pictures to help you out.
Friday, February 18, 2011


Trevor's Tower


Thursday, September 30, 2010
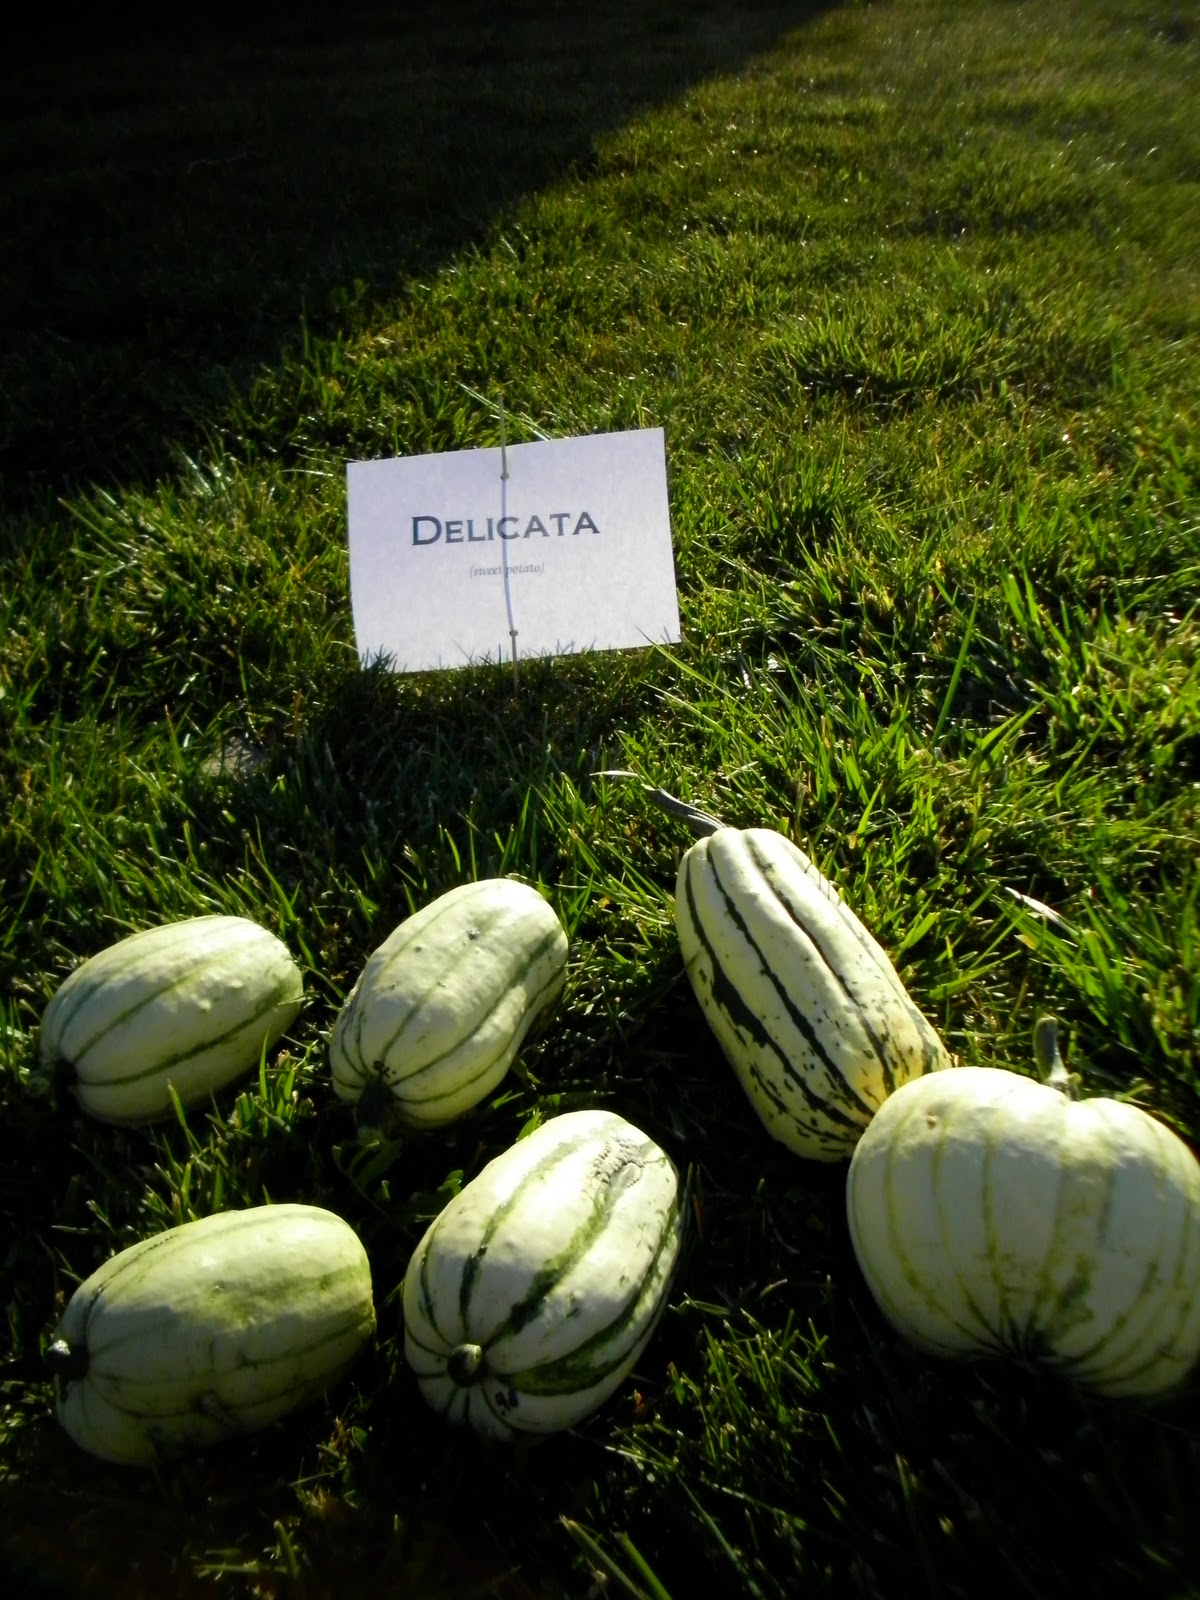
The Hunter Family's 1st Annual Squash Kabosh


Some of you who know me may have discovered that I am a little bit more than passionate about squash . I love to explore all varieties that I could plant in my garden someday. This year we had intended to participate in a farmer's market when we first started planning our garden. With all that came to pass this summer we soon realized it was not an ideal situation to be hopping on over to the market at dawn every Saturday with all the kids, so we put those plans on hold, hoping to someday participate in a market of that sort. However, with all the produce from our garden and an ever burning desire to share with the world my fondness of squash, I have decided to have my own little farmer's market in my yard. I plan to still reserve some squash for my own family of course, but hope to sell a lot of what we have grown. SQUASH KABOSH
Sidewalk Sale
This Saturday ONLY!!!
October 2, Noon-2pm
Come taste the natural goodness of homegrown squash.
Summer varieties:
Yellow Squash
Zucchini
Patty Pan
Winter varieties:
Acorn
Delicata
Spaghetti
Butternut
Hunter Residence
Cash or Check only please!!!


Wednesday, September 29, 2010
Curry Scented Butternut Squash Soup
This one is also courtesry of my sister-in law! Thanks again!
1 butternut squash, 2 1/2 lbs (6 cups cups cubed)
2 large, sweet apples such a Fuji or Honeycrisp
3 medium onions
2 Tbsp. butter
1/4 cup packed dark brown sugar
1 1/2 Tbsp curry powder
6 cups chicken or vegetable stock
1 container (8oz) mascarpone cheese
2 tsp salt
sour cream and snipped fresh chives (optional)
1-Peel squash and apples; cut into 1-in cubes and dice onions.
2-Melt butter in 8 quart stock pot over medium-low heat. Add onions. Cook 5-6 minutes or until tender, stirring occasionally. Add squash, apples, brown sugar and curry powder. cook and stir 1 minute or until curry powder is fragrant. Add stock and bring to a simmer over medium heat. Simmer 24-26 minutes or until squash is very soft. Remove from heat.
3-Carefully ladle about one-third of the squash mixture into blender container. Cover and blend until smooth. Pour blended soup into a mixing bowl. Repeat two times with remaining squash mixture.
4-Return soup to stockpot and whisk in mascarpone and salt until mascarpone is completely incorporated using whisk. Return to a simmer over medium heat and remove from heat. Garnish each serving with sour cream and chives if desired.
Yield: 8 servings (12 cups)
Nutrients per serving (1 1/2 cups): Calories 310, Total Fat 16g, Saturated Fat 9g, Cholesterol 45mg, Carbs 39g, Protein 8g, Sodium 950mg, Fiber 5g
Quick and Creamy Mac n Cheese
This one is courtesy of my sister-in-law, containing BUTTERNUT squash, yum! I will have to post a picture after I make it!
This recipe is only supposed to take about 20 minutes to make, so woohoo!
16 ounces uncooked medium shell pasta
1 pkg (12 ounces) frozen butternut squash, thawed
1 can (12 ounces) evaporated milk
2 cups shredded six-cheese Italian cheese blend
1/8 tsp. ground nutmeg
1/2 tsp salt
1-For pasta, bring salted water to a boil. Cook pasta according to package directions. Carefully remove 1/4 cup of the cooking water for later use. Drain pasta and set aside.
2-For sauce, place squash into a saucepan, gradually add milk, whisking constantly. Cook over medium-high heat 3-4 minutes or until mixture begins to simmer. Reduce heat to medium. Add cheese. Cook 3-4 minutes or until cheese is melted and mixture returns to a simmer, whisking constantly. Add nutmeg, salt and reserved cooking water. Stir until smooth. Add sauce to pasta. Mix to coat
3-To serve, divide pasta among serving bowls and sprinkle with additional ground nutmeg if desired.
Subscribe to:
Posts (Atom)